 Polly3D Documentation
Edit panel
Every tab of the inspector: Transforms, Shape, Effectors, Materials, Visibility, and the scene tabs.
The Edit panel on the right shows the properties of the selection. Its header shows the icon, the name and the kind of the selection (OBJECT, GROUP, LIGHT) and, for objects and groups, an Aux button to bind the selection to an After Effects Aux channel. The tabs depend on what is selected:
| Selection | Tabs |
|---|---|
| Primitive | Transforms, Shape, Effectors, Materials, Visibility |
| Flat shape | Transforms, Shape, Effectors, Materials, Visibility |
| Path | Transforms, Path, Effectors, Materials, Visibility |
| After Effects text | Transforms, Text, Effectors, Materials, Visibility |
| Imported model | Transforms, Effectors, Materials, Visibility |
| Group | Transforms, Effectors |
| Light | Light |
| Nothing | Scene, Render (see Scene settings and Render settings) |
Each object comes back on the tab you left it on. An object you select for the first time opens on the tab in use.
Transforms#
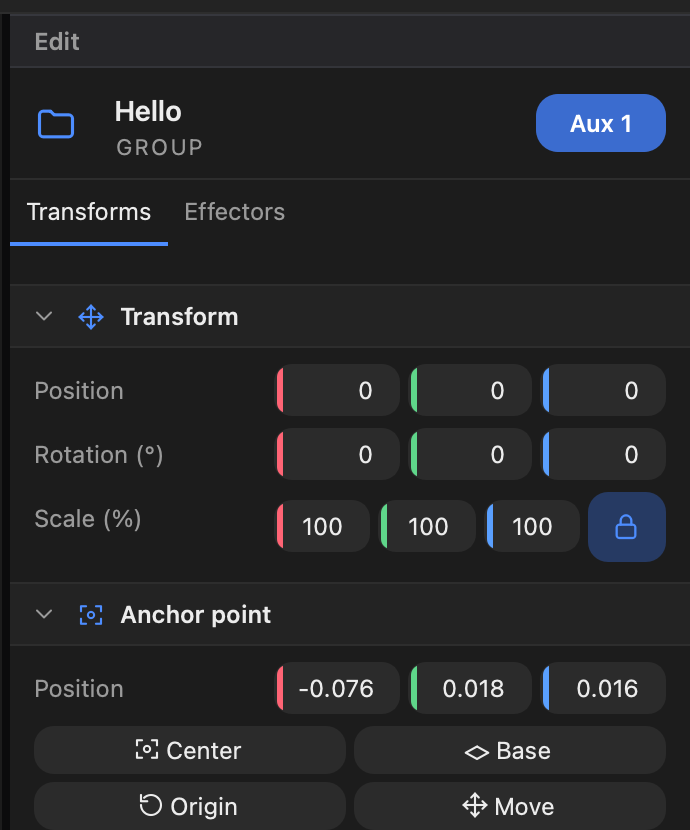
Transform#
Position, Rotation (°) and Scale (%) along X (red), Y (green) and Z (blue). Positions are relative to the parent group. The lock next to Scale (%) keeps the scale uniform. Units are editor units: a default shape is about 1.6 units wide; in After Effects one unit is 100 pixels by default (see Unit Size (px) in Plugin parameters).
Anchor point#
The point around which the object rotates and scales, shown by the manipulator and by an orange marker in the viewport.
- Position — the anchor, in the object's local space.
- Center — puts the anchor at the center of the object.
- Base — puts it at the bottom center, handy for objects that stand on the floor.
- Origin — resets it to the object's origin.
- Move — turns the manipulator into the anchor itself: dragging it moves the anchor and the object stays put.
UV Mapping#
How the pictures of the object's materials lie on it.
- Projection — UV (the object's own texture coordinates), Planar (projected along Z), Spherical, Cylindrical or Triplanar (each face takes the projection of the axis it faces most; the transitions are hard, not blended).
- Repeat X / Repeat Y — how many times the picture is tiled along U and V (this is the scale of the mapping).
- Offset X / Offset Y — moves the picture on the surface.
- Rotation (°) — turns the picture around its center.
The mapping applies to every kind of object: primitives, imported models, Paths and extruded Shapes (with UV, a Path keeps its own coordinates: U along its length, V around its profile).
Each value has a stopwatch at its right: link it to a Connector of the After Effects effect, or give it a driver or keys of the timeline (see Drivers). The Repeat and Offset of the pictures of a material (layers, image windows) have the same stopwatch.
The Edit panel stays on the tab you last used (Shape, Materials…) when you select another object.
The mapping applies to every picture of every layer of the object's materials, on top of each layer's own Repeat and Offset.
Aux#
The Aux button in the header binds the object to Aux 1 to Aux 8. The After Effects effect then drives that object. See Aux channels.
Shape#
Parameters of a primitive, a flat shape or a path. Dragging a value rebuilds the geometry live (one undo step per drag). See Primitives and Shapes and paths.
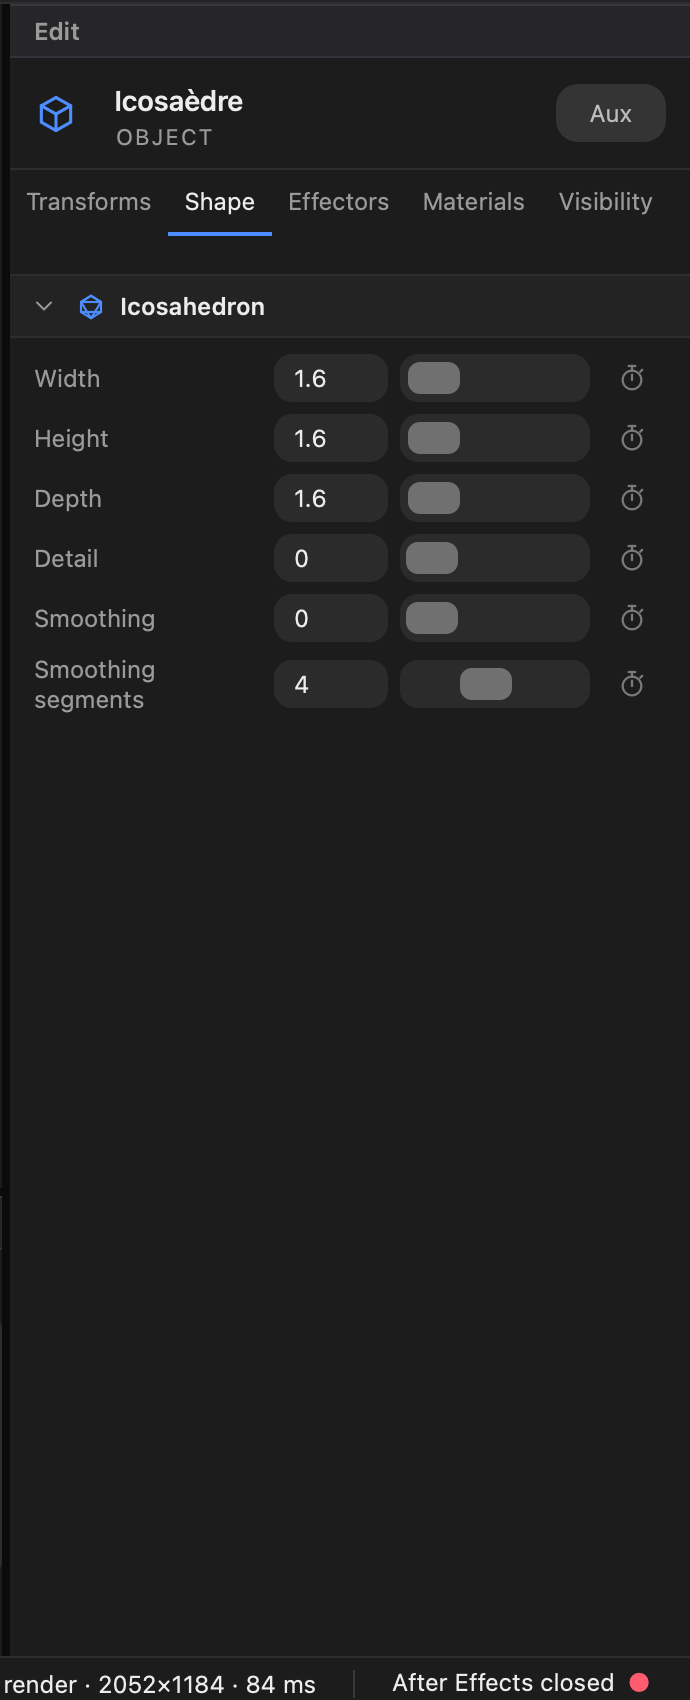
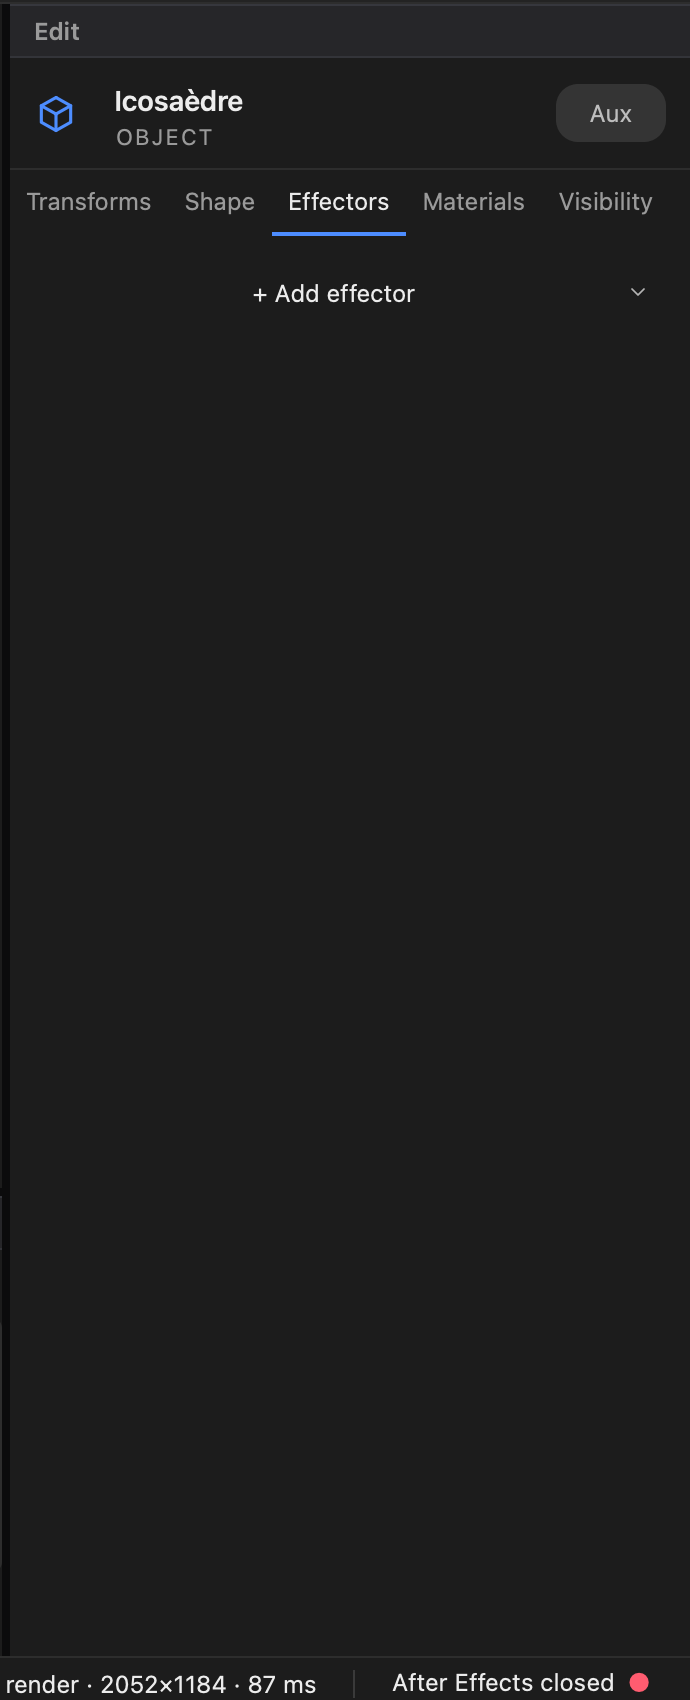
Effectors#
The Cloner and its effectors. Click + Add effector or add a Cloner. See Cloner and effectors.
Materials#
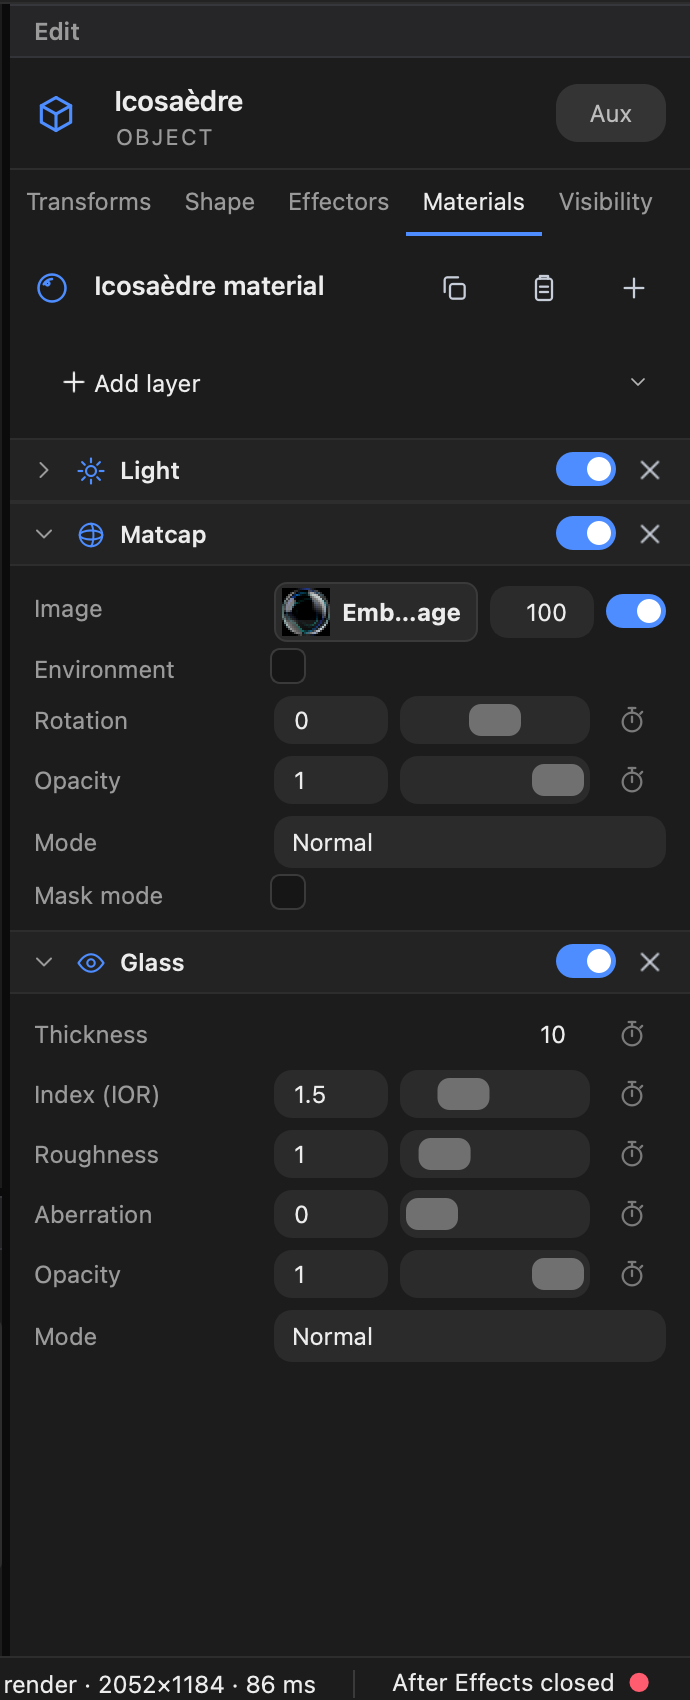
At the top, the material name (editable; a list if the object has several materials) with three buttons: Copy material, Paste material, and Keep this material in the library. Below, Add layer adds a layer to the stack, and each layer is a collapsible section with a switch to enable it and an X button to delete it.
Layers, their settings and their blend modes are described in Materials and the Layer reference.
Every animatable number has a small stopwatch at its right. Click it to link the value to a After Effects Connector or to a driver.
Right-click a layer's title for Copy values, Paste values and Reset to default. The layer order matters: layers higher in the list act on those below.
Visibility#
| Setting | Effect |
|---|---|
| Visible to camera | Off: the object is hidden from the camera. |
| Visible in reflections | Off: the object does not appear in reflections and mirrors. |
| Shadows | Casts and receives, Casts only, Receives only, None. |
| Shadow only (matte) | The object is invisible; only the shadows that fall on it are drawn. Use it for an invisible floor that catches the shadow on a transparent background. |
| Reflections only (matte) | The surface is transparent; only its Reflection layer is drawn. |
| Double-sided | Draws both faces of each triangle. |
| Wireframe | Draws the edges only. |
| Mesh | Normal (smooth) or Low poly (each triangle has its own normal, like a cut stone). |
Light#
For a light: Color, Intensity, Hidden; Position and Target; for a spotlight Cone angle and Penumbra; and the Shadows section (Cast shadows, Shadow intensity, Softness). See Lights.
Text#
For After Effects text: see After Effects text.