 Polly3D Documentation
Deformers and physics
Twist, Bend, Taper, Wave and Displace bend the mesh of an object; Bounce, Spring, Rigid body, Collider, Cloth and Wind make it move by itself.
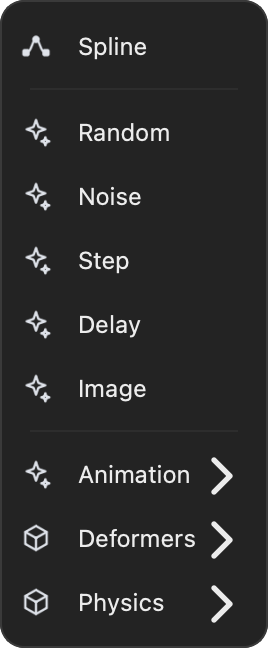
Deformers and physics are added like effectors: select an object or a group, open the Effectors tab and click + Add effector. They are in the Animation, Deformers and Physics sub-menus. No Cloner is needed; with a Cloner, every copy takes part.
Each one has a switch and a cross, and every number can be linked to a driver, keyframes or a Connector.
Deformers#
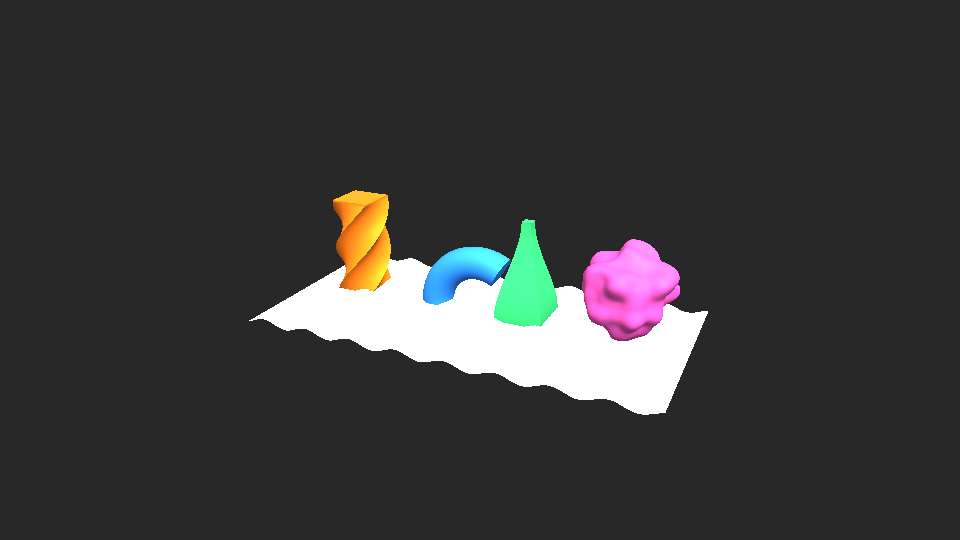
A deformer bends the mesh of the object along one of its axes, over the whole object: a twist of 90° turns the far end by 90° whatever the size.
| Deformer | What it does | Parameters |
|---|---|---|
| Twist | Turns the far end around the axis | Angle (°), Axis |
| Bend | Curves the object into an arc | Angle (°), Axis, Direction (°) the side it leans to |
| Taper | Narrows or widens the far end | Size at the end (×) (1 = unchanged), Curve, Axis |
| Wave | A wave that runs through the object | Amplitude, Wavelength, Speed (cycles/s), Phase, Travels along, Moves along |
| Displace | Pushes the surface in and out with noise | Amount, Frequency, Speed, Seed |
All have a Strength. Several deformers are applied in the order of the list.
On a group, the deformers bend all its objects as one piece.
Animation without keyframes#
| Effector | What it does | Parameters |
|---|---|---|
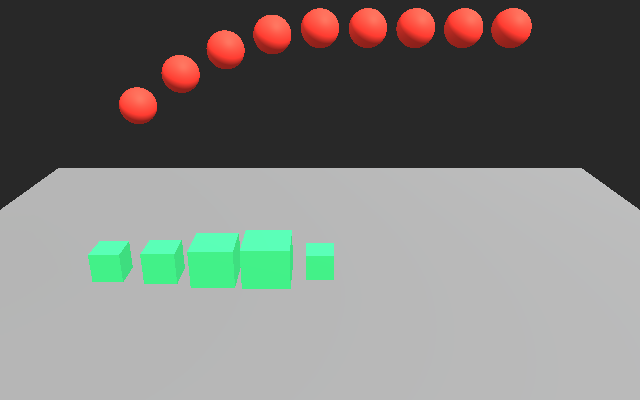
| Bounce | The object is dropped onto its place and bounces there | Drop height, Gravity, Bounciness, Start (s), Delay per copy (s) |
| Spring | The object starts away from its place and swings back | Move / Rotation / Scale (where it starts from), Frequency (Hz), Damping, Start (s), Delay per copy (s) |
A new Spring starts with scale −1 on the three axes: the object pops out of nothing and overshoots a little. Both are exact formulas of the time: they cost nothing to render.
The Delay effector (see Cloner and effectors) makes every copy start a little after the one before.
Physics#
| Effector | What it does |
|---|---|
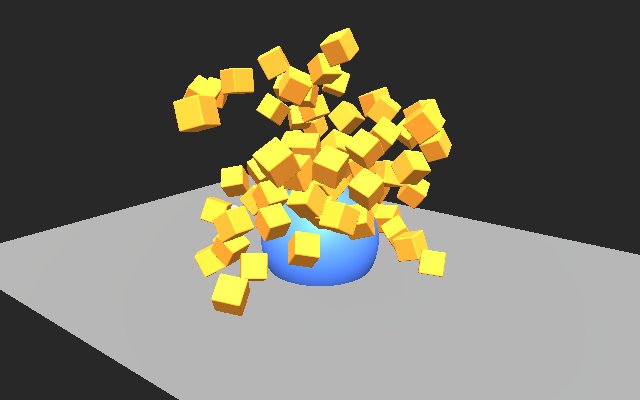
| Rigid body | The object falls, collides, rolls and piles up |
| Collider | The bodies and cloths hit the object, which they do not push |
| Cloth | The object becomes a sheet of fabric |
| Wind | Blows on the body or the cloth of the same object |
The simulation starts at time 0 from the places of the scene. Move the playhead of the Animation panel to watch it; at time 0 the objects are where you put them, so place them there.
Rigid body#
| Parameter | Meaning |
|---|---|
| Collision shape | Box or Sphere around the object |
| Gravity | 9.8 is the Earth's |
| Bounciness | 0 does not bounce, close to 1 bounces for a long time |
| Friction | How much it grips what it slides on |
| Air drag | Slows it in the air |
| Start (s) | When it lets go; before that it stays in place |
| Speed X / Y / Z, Spin (°/s) | Speed and spin at the start |
| Floor, Floor height | An invisible floor, at height 0 by default |
| Precision | 1 fast, 3 fine: how closely the box is followed |
With a Cloner every copy is a body: a grid of cubes placed high above the floor rains down and piles up. On a group, every object of the group is a body.
Collider#
| Parameter | Meaning |
|---|---|
| Object | This object, or another object of the scene that becomes the collider |
| Collision shape | Box or Sphere around the object, or Mesh: its exact shape |
| Hollow | Box and Sphere only: an empty shell |
Object lets the Collider sit next to the Rigid body of the objects that fall: on the marbles, add a Collider and pick the box that holds them. Several Colliders can name several objects. An object that is hidden still collides.
Mesh follows every triangle of the object. A body stays on the side of the skin where it starts: what starts inside a closed object stays inside, what starts outside lands on it. Hollow does the same for a Box or a Sphere.
A Collider follows the keyframes of its object: what touches it is pushed and carried along. It does not follow an Aux channel of After Effects.
Bodies that start inside each other are moved apart before the simulation starts.
Marbles in a box that turns#
- Create a large cube, and in the Animation panel give it two Rotation keyframes.
- Create a small sphere. In its Effectors tab add a Cloner, choose the Volume pattern and pick the cube in Inside. Set Distance from the walls to the radius of the sphere.
- Add Physics › Rigid body to the sphere, with the Sphere shape.
- Add Physics › Collider to the sphere, pick the cube in Object and Mesh in Collision shape.
- Give the cube a glass or wireframe material, or hide it, to see the marbles.
Cloth#
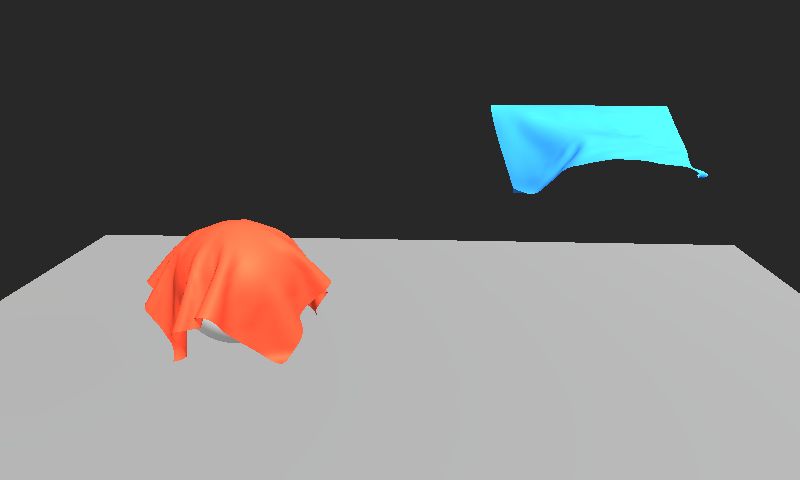
Create > Cloth adds a ready-made sheet. To turn your own plane into a cloth, give it 30 to 60 Subdivisions and add the Cloth effector.
| Parameter | Meaning |
|---|---|
| Pinned | Nothing, One side, Two corners or Four corners held in place |
| Stiffness | 1 does not stretch; lower is elastic |
| Bending stiffness | 0 silk, 1 cardboard |
| Gravity, Friction, Air drag | As for a rigid body |
| Thickness | Distance kept from what it touches |
| Start (s), Floor, Floor height | As for a rigid body |
A cloth falls on colliders, on rigid bodies and on the floor. It does not collide with itself.
Wind#
Strength, Direction X / Y / Z, Turbulence (gusts), Turbulence size and Turbulence speed. Add it to the object that carries the Cloth or the Rigid body.